More than anything, the advance of Pinterest has provided me with a deep understanding of just how shabby my life is. Never before was I aware of all the custom wooden blocks that hold wine bottles at decadent angles. How chalkboards fill people's lives with motivational slogans. How there's nothing that can't be improved with a painted-on ship's anchor. Every food is cooked on a wooden plank, and every drink is quaffed from an embellished Ball jar. Bamboo is the new hardwood, concrete the new granite. There are so many beautiful homes, beautiful gardens, and beautiful people on Home And Garden Television.
These crafter magicians, they pull a patio furniture set out of thin air and maybe some old firewood. They use a microwave and a dumpster-scrounged coffee mug to concoct a delicious cake treat. By the time I look over enough pictures, I'm convinced I can build a new car out of a porta-potty and a reclaimed fire hydrant. Until, that is, I'm standing over a pile of PVC pipe, looking at the hammer in my hand, suddenly unsure which side is the "hit-ty" side.
 How come when I do a project, I always manage to break something? How come I always end up with some kind of contraption that looks nothing like the picture? How did I make a pasta dish from Pinterest and have it turn out purple?
How does a screw head just pop off?
This column asks and answers the question: Can an average person, with slightly above-average chance of calamity, build some nice Pinterest bookshelves for himself?
Background:
I've had no formal carpentry training. No wood shop classes. I did build three pinewood derby cars. One was mediocre. The other two could not actually make it all the way down the track.
That's the sum total of my carpentry training.
Tools
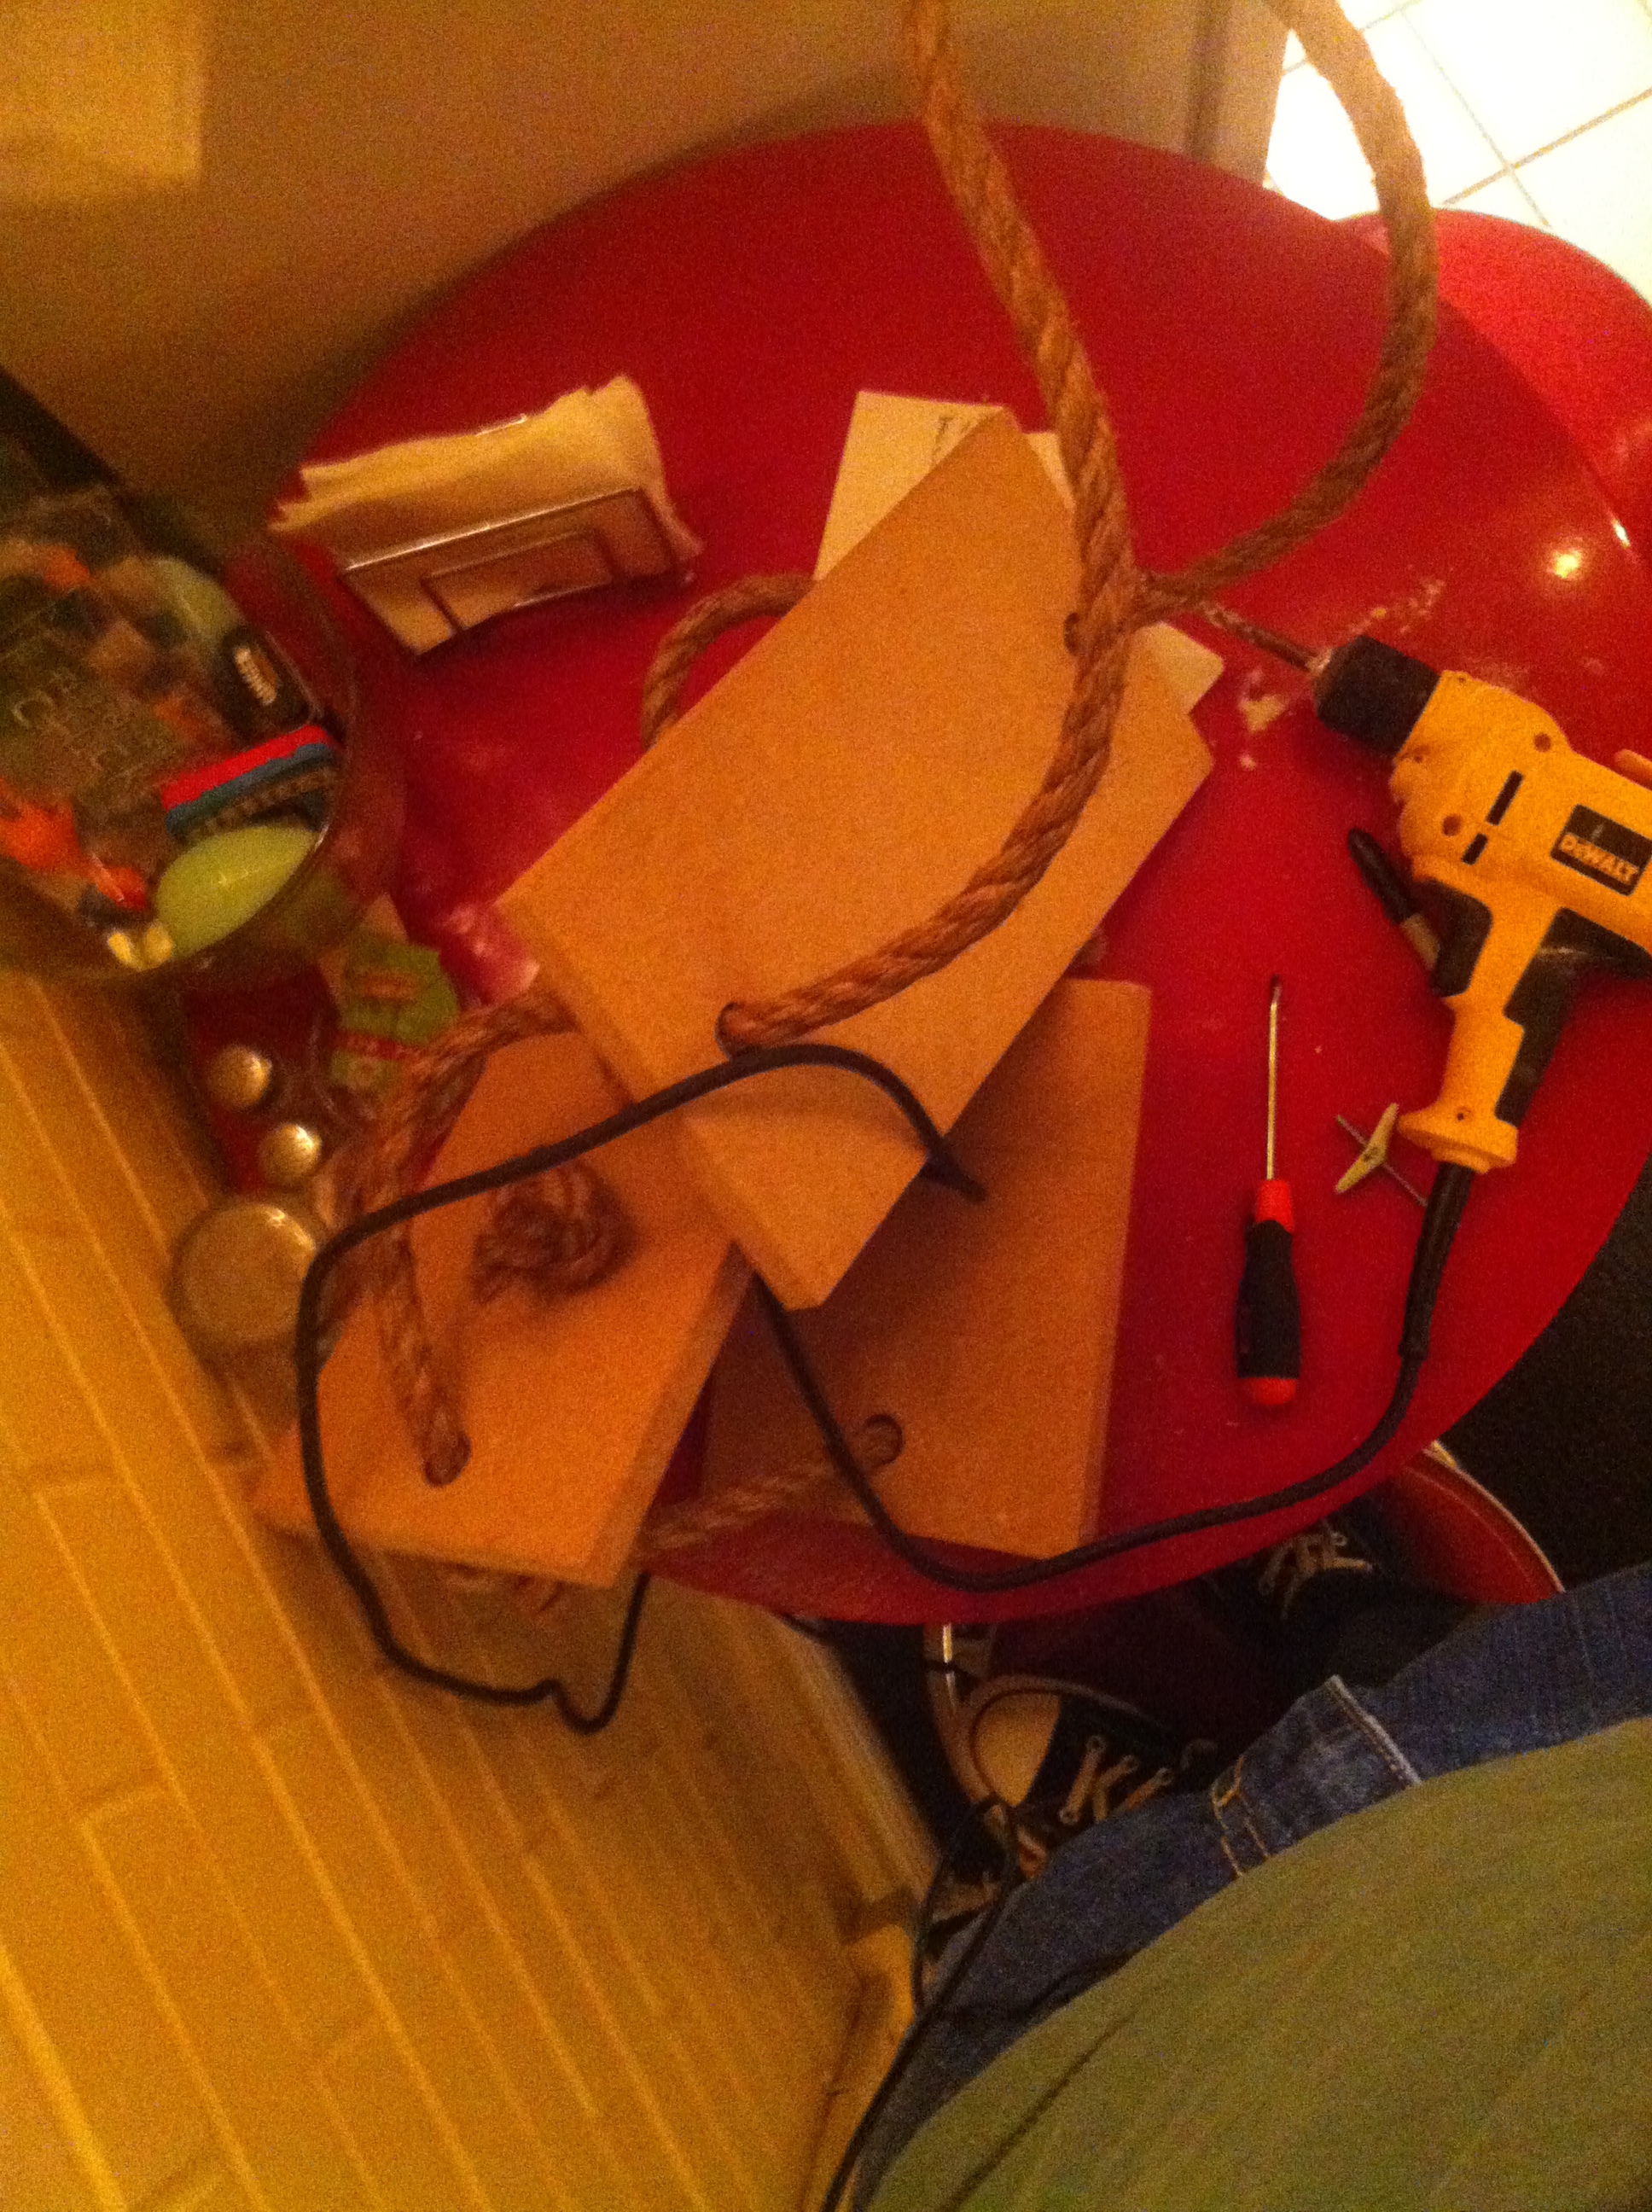
I own a reasonable set of tools, but nothing that doesn't fit into the pictured tool bag (right).
Don't mind the cat tail. Some might say it's not a tool, but I've never been more popular at a party than the time I was Cat King. So it's certainly a social tool.
 No crazy grinders, no bench vice, no whatever that vat was they used at the end of Terminator 2. Not even the knowledge of whether or not that vat of molten stuff from the end of Terminator 2 is a "tool."
Here's a list of the tools I used:
- Hammer
- Screwdrivers
- Level (Did you know there's a level on your iPhone? Open the compass app and swipe!)
- Wall Anchors (These are basically screws with a thingy-ma-doo that pops open to hold heavier things on drywall.)
- Drill
- Measuring Tape
- Power Saw
- Hand Saw (Because the stupid power saw ran out of power almost immediately)
Standards:
- Each bookshelf had to meet these standards:
- It should cost no more than $50 in materials.
- It must support a minimum of 10 books.
- It should take no more than 1 hour to assemble.
- It has to stay upright and intact for a minimum of 24 hours.
- Each bookshelf must be apartment-friendly. So no alterations to the structure of the building, no rotating bookcases that lead into secret rooms. Sadly.
- Each bookshelf has to not look like total crap. The least calculable standard, and probably the most important. When a person asks "Did you make that yourself?" it's generally not a compliment. In my case, anyway.
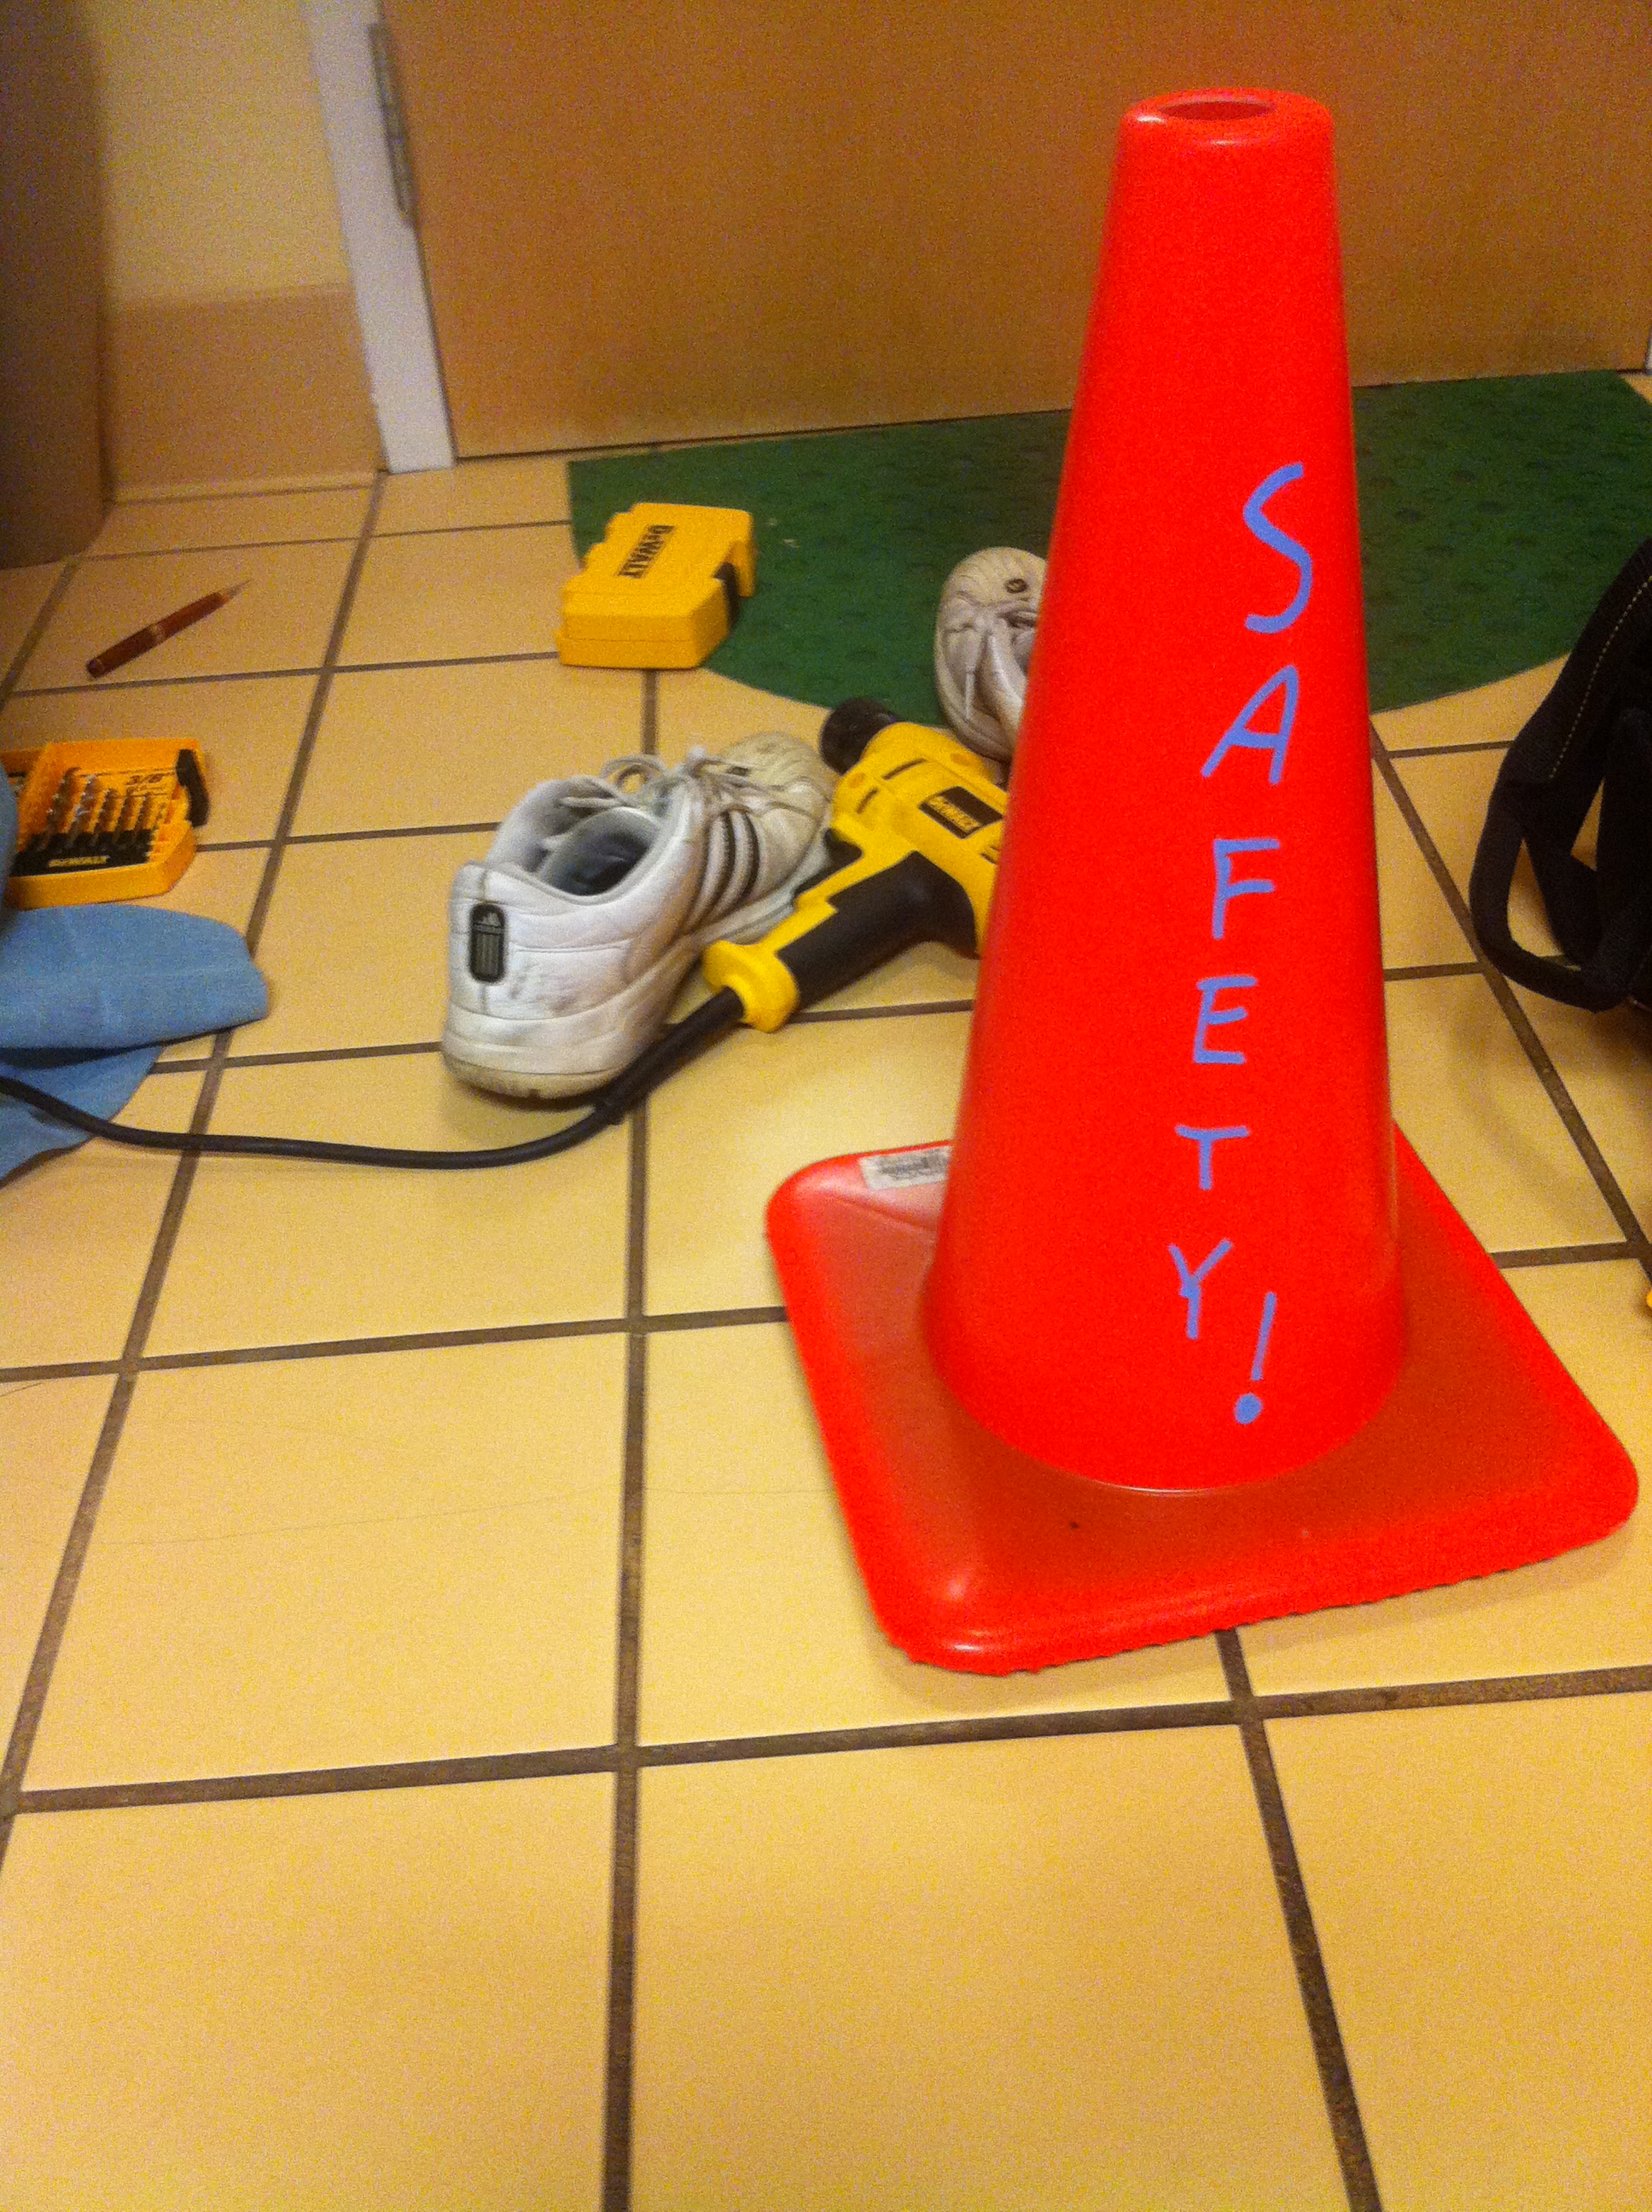
Safety
 Eye Protection: I recommend safety goggles. Barring that, women's sunglasses cover a lot more of the eye than men's. This is valuable info if you're building or hung over. Or building AND hung over.
Ear Protection: Probably a good idea. Definitely a good idea if you want to listen to podcasts while you work.
Gloves: Before this project was finished I stabbed myself twice with saw teeth. Should have worn gloves the whole time instead of just for this picture.
Flannel Shirt: I don't know how this makes a person safe, but it's customary. Nobody wants to look like a noob.
Oh, and hey, if you've got access to other safety equipment, go for it.
With these standards in mind, it was time to make a trip to the hardware store and some back alleys to gather supplies. Uh, and those back alley supplies refer to cast-off building materials, not crank. Although crank would have helped me finish quickly.
The Hardware Store
 Acceptance is the key to hardware store success. Accept the fact that you will make more than one trip to the hardware store for any project. I don't know how this works or why, but the sooner you accept this cosmic math, the better off you'll be.
The second key to hardware store success, don't talk to strange older men. This is probably a good rule in general, and in the hardware store it's meant to save time as opposed to your life. But truly, you'll never get into more bizarre conversations than you will with old men at the hardware store. While I pulled rope off a giant spool doohickey for this very project, an old man stopped by and said, "Don't do it. It's not worth it." We had a little laugh about his suicide joke, and before I could finish unspooling rope, the old man came back at me from the other side and said, again, "Don't do it. It's not worth it." I swore that if he came back a third time, I would have to disagree. I'd rather hang myself in the hardware store than hear that joke a third time.
Bookshelf #1: The Pallet
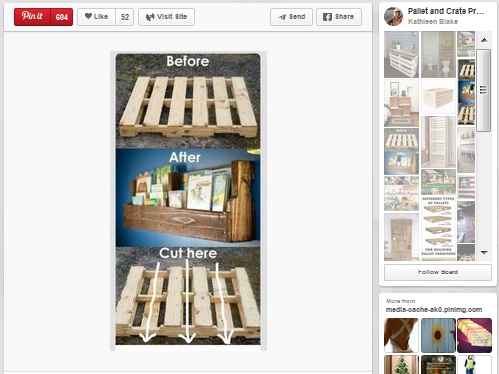
Pallets are the hottest thing to hit the web since the invention of spelling "cheeseburger" with a "Z". You can find tables made from pallets. Bed frames. Outdoor patio furniture. Oh, and bookshelves like you wouldn't believe.
It sounds like the perfect idea. Grab a pallet, take it apart, and put it back together. Easy as pie.
"Easy as pie" is a very accurate saying for this project. Have you ever tried to make a lattice crust? It's hard as hell, and my version looks like crap.
Let me be the first to tell you, just because a place piles a bunch of pallets outside does not mean those pallets are free. One could argue that anything in the dumpster area out behind a store is free, and I tend to agree in most cases. However, taking a pallet is more like taking the dumpster than taking the stuff inside the dumpster. If you want pallets, look on Craigslist or for a new business in town. Someone has free pallets somewhere. In my case, a new gym opened up, and they were looking to unload some pallets.
 By the time I arrived in the alley behind the gym, the pallets were picked-over. I managed to find one that was in decent shape. Decent enough shape that the world's most gigantic spider had decided to call it home, anyway. He'd also decorated his rustic pallet home with the corpses of several dead bees. Truly, a charming touch.
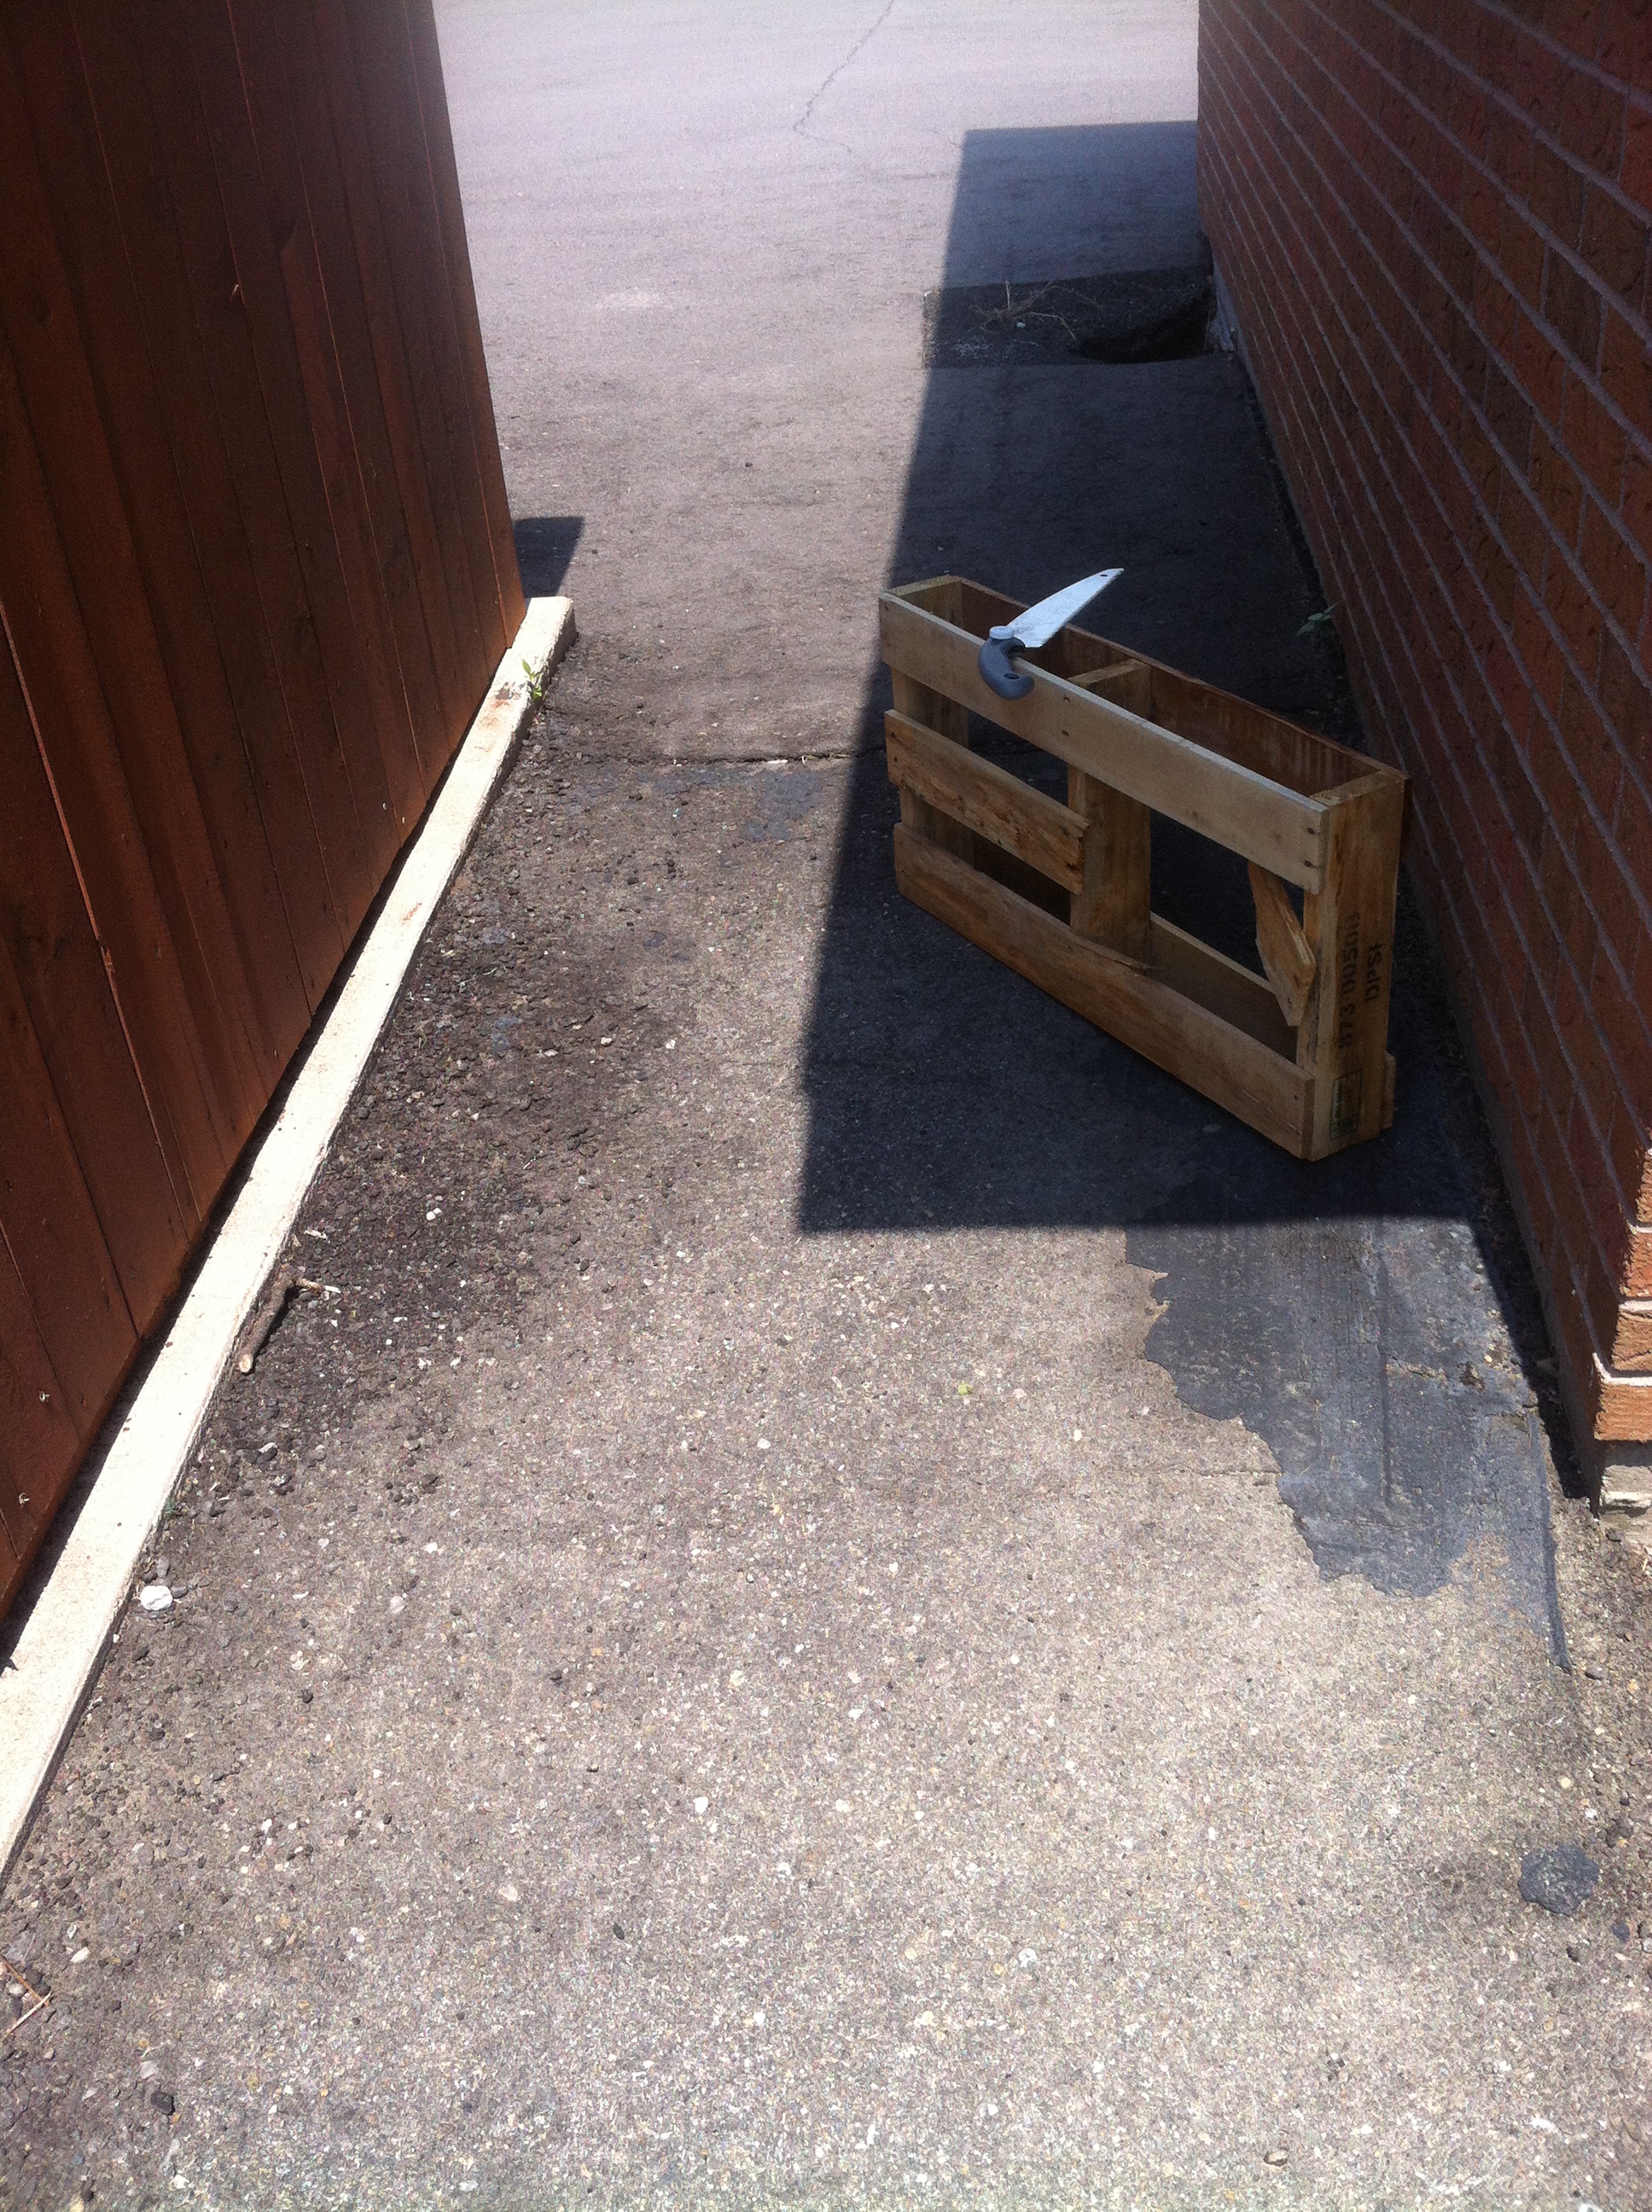
Here we are back in the workshop, aka An Alley Near The Dumpster. An ideal space. At least until some odors revealed that someone had urinated in my workshop. Sharing space is all about the realization that people use the same space in different ways. Ce'st La Pee.
Here, amongst the urine, is where I discovered something about pallets. They're not made of great wood. Or good wood. Did you ever have one of those wooden planes as a kid? The kind that comes flat in a package and you punch out the different pieces, slide them together and then it sort of floats when you throw it? One step above a paper airplane? That's the kind of wood you get with pallets.
How people build these into furniture I have no idea. Maybe some people have boring lives and like the danger, the thrill of a night's sleep on a bed that could collapse if you take in too heavy a breath. Who knows?
I'm here to tell you, pallets are fun, but in terms of function, they're meant to be pallets. Flat on the ground, stuff stacked on top. They aren't meant for anything else.
With a little bit of doing, here's what I put together:

Summary:
Purchased Materials: Screws, wall brackets, drywall anchors. $5-$10.
Time to build and install: 45 min.
Most Commonly Used Curse Phrase: "Ah, shit."
No. of books held: 10
Advice: Pallets make for cool, rustic holders of knick-knacks, and free is always good. They make for great decorative elements. If you're looking for something fun, they're not a bad choice. If you're looking for something that's no headache and made of something that's at least popsicle stick quality, pass.
Shelf #2: Pipes
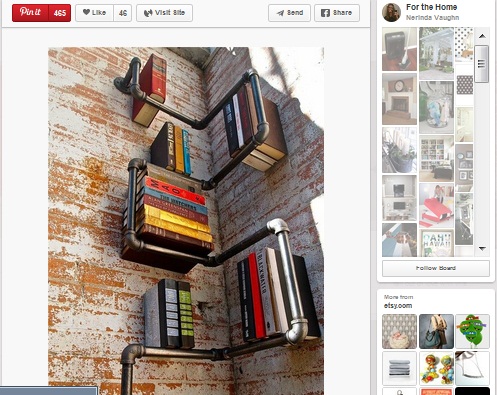
This shelf and versions of this shelf are tearing it up on Pinterest at the moment. They have a beauty in their simplicity, and they wouldn't look out of place in a hip bar or restaurant. The best part, all you really need is some piping, some flanges (the round bits that attach to the wall) and some screws.
The thing is, doing one with this intricate, curved design is tough. The reason being, you HAVE to screw the flanges into wall studs. The pipes are heavy as hell, even before you load them up with books. You have to plan out your shelf so that both ends hit studs, but at the same time you're a slave to the length of pipes available at the hardware store.
For an expert at spatial reasoning, this might not be too tough. I got my head stuck in a fence as a kid, so I opted for a simpler "U" shape.
The pipes are pretty easy to find at the hardware store. The thing you want to look out for, MAKE SURE that your pipes, flanges, and connectors are all the same size. They may be in the same bin, but remember, you're relying on the last person who cruised by there to put things back where they belong.
Another little issue, you'll find that the dark variety of pipes is covered with a greasy filth. So clean those off with a vigorous motion that is best accomplished after you light a nice candle and lower the lights.
Here's the result:
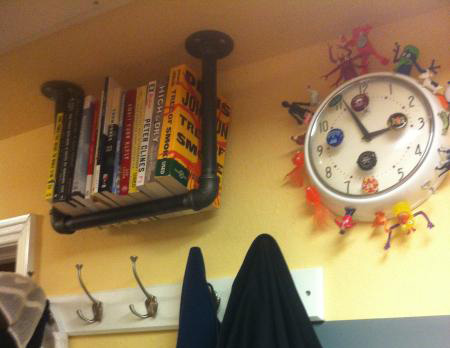
Summary:
Purchased Materials: Threaded pipes, flanges, screws. $35-$40.
Time to build and install: 20 min.
Most Commonly Used Curse Phrase: "This shit is filthy."
No. of books held: 16
Advice: These things are heavier than you'd think, even before they're loaded. Also, pipes ain't cheap.
What People Are Saying: This shelf was probably the one that people responded to best when I showed off the pics.
Shelf #3: The Rubber Band
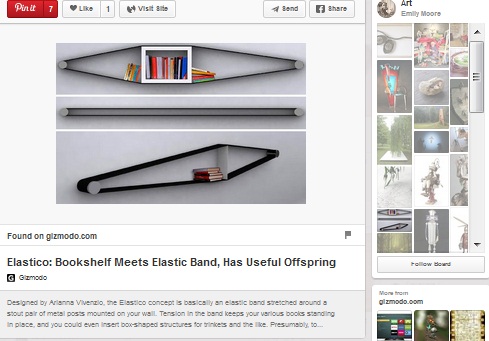
It didn't seem that any Pinteresters had added instructions for this one. But hey, a couple cylinders, a big rubber band. What could be simpler?
I decided that I'd mount the cylinders on a wooden plank rather than straight to the wall after I...scavenged a nice wood scrap from a nearby demolition project.
For the cylinders, I decided to go with a couple small, empty paint cans.
The rubber band was where the real trouble began.
A few companies that sell crates and shipping containers sell something called a "Pallet Band," which is a giant rubber band to hold stuff together on a pallet. So, pallets, we meet again.
The issue is that they sell pallet bands in packs of, oh, 250 or so. Because it would seem these items are meant for warehouses that deal in pallet-loads of stuff as opposed to columnists who deal in less volume (though FAR deeper purpose!).
I thought about whole bags of large rubber bands from the office store, how I could build a web of sorts, when I hit on elastic body bands.
Body bands are, well, big rubber bands that people use for exercise. In a 3-pack of body bands, you get purple, orange, and green. The workout industry and popsicle industry are the only two businesses that share this color palette. Guh, I need to stop using the word "pallet", even if it's the homophone.
The assembly wasn't too bad. Open the paint cans and screw them into the board. Stretch the bands between the cans, load the whole mess with books.
And honestly, it worked. The biggest surprise so far. And other than the shades of the bands, it's not too shabby.
A person willing to get spendy can find black body bands meant to hold a decent amount of weight, so if you're attached to this one, you can do it better.

Summary
Purchased Materials: Paint cans, resistance bands. $35.
Time to build and install: 50 min.
Most Used Curse Phrase: "There is no way this fuckin' thing is going to work."
No. of books held: 10.
Advice: This one is definitely not about holding a lot of books. It's a conversation piece. If you want to start a conversation, this one is unique.
Shelf #4: The Ladder
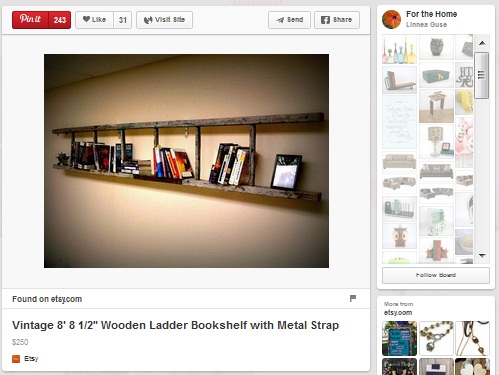
I figured this one would be tough as far as sourcing the material. It's the part I hate on every home improvement show. "Oh, we found this priceless, perfect piece on the curb!" Or, "You can find an ideal piece just like this one for less than $1 at your local thrift store!" My ass.
 The thrift store nearby had three ladders, but none were of the variety that work for a horizontal wall situation. The thing is, an old ladder, the kind you might use to climb up into the loft part of a barn to make out with a pigtailed gal, that kind of ladder is two straight poles with straight steps. If you look at it straight on, it looks like a capital "H." The modern ladder, the kind that doesn't seem to involve makeout parties, has angled steps and side planks. The bottom step is wider than the top step, so when you look at it straight on, it looks like a capital "A." The result, you can't hang it sideways in a way that looks straight or remotely sane.
So instead of a wall shelf, I changed course and went for a version that leaned against the wall.
I cut the back half off the ladder, then cut its height and a couple of the steps too.
As an amateur, it's easy to find myself engaged in questionable construction practices. Does Ty Pennington ever step on a pair of cutters to get more force out of them? I can't imagine he does. But it got the job done, and the shelf held. Until about 3 AM.
Another piece of advice. If something falls apart, it will fall apart at 3 AM. It's a scientific fact that things do not fall apart or fall off the wall at noon or maybe in the early evening when you're out of the house. It's at 3 AM when there's the maximum potential for terror. So when my ladder shelf fell apart, it was at 3 AM.
 Oh, and ONE OF MY BOOKENDS PAID THE PRICE FOR MY HUBRIS!
I kind of suspect this bookend was supposed to be an artsy version of that racist thing where a Mexican gentleman with a sombrero sleeps up against a cactus. So maybe it's not such a tragedy.
But I didn't give up. I screwed the ladder pieces back together and reinforced the whole thing using other pieces of the ladder that I'd cut off before. Since then, it's been great.
 Summary:
Purchased Materials: Ladder: $10 (I swear, this is true, and there were two others. If you have a Habitat For Humanity ReStore nearby, this is a good place to look).
Time To Build And Install: 1 bout of 60 min, plus a second bout of 20 min.
Most Commonly Used Curse Phrase: "Fuck, Shit, Holy God!" This at 3 AM.
No. Of Books Held: 33
Advice: I got a painted ladder, which was cool, but the previous owner painted over the screws and bolts that hold it together, so it was tough to get it apart. The thing to look for in a good ladder for this project is how easily it'll come apart.
Extra Note: This one definitely holds the most books, and I have total confidence in it. It also doesn't require any wall attachment, although if you have kids at home, you'll want to anchor it to the wall.
Shelf #5: Rope Shelf
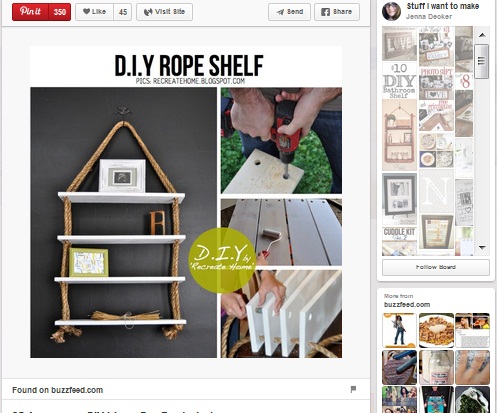
I felt out of my depth on this one. I never got my Tenderfoot in the Boy Scouts because I couldn't tie a square knot. I know that sounds like a tall tale, but I promise it's true. And is a tall tale only for greatness? Is my tale really a Short Tale?
The rope shelf turned out to be pretty easy. Use a hole saw (basically a drill attachment that allows you to make big holes in wood) to cut holes in some planks. Do this with the boards stacked on top of each other so you know they'll match up. Then, it's easy as threading the rope through the top board, tying the two knots and then moving on to the next board. It helps if you set your level on the board as you tie, and it really, REALLY helps to have some assistance on this step.
 The tough part, it turns out, is attaching it to the ceiling.
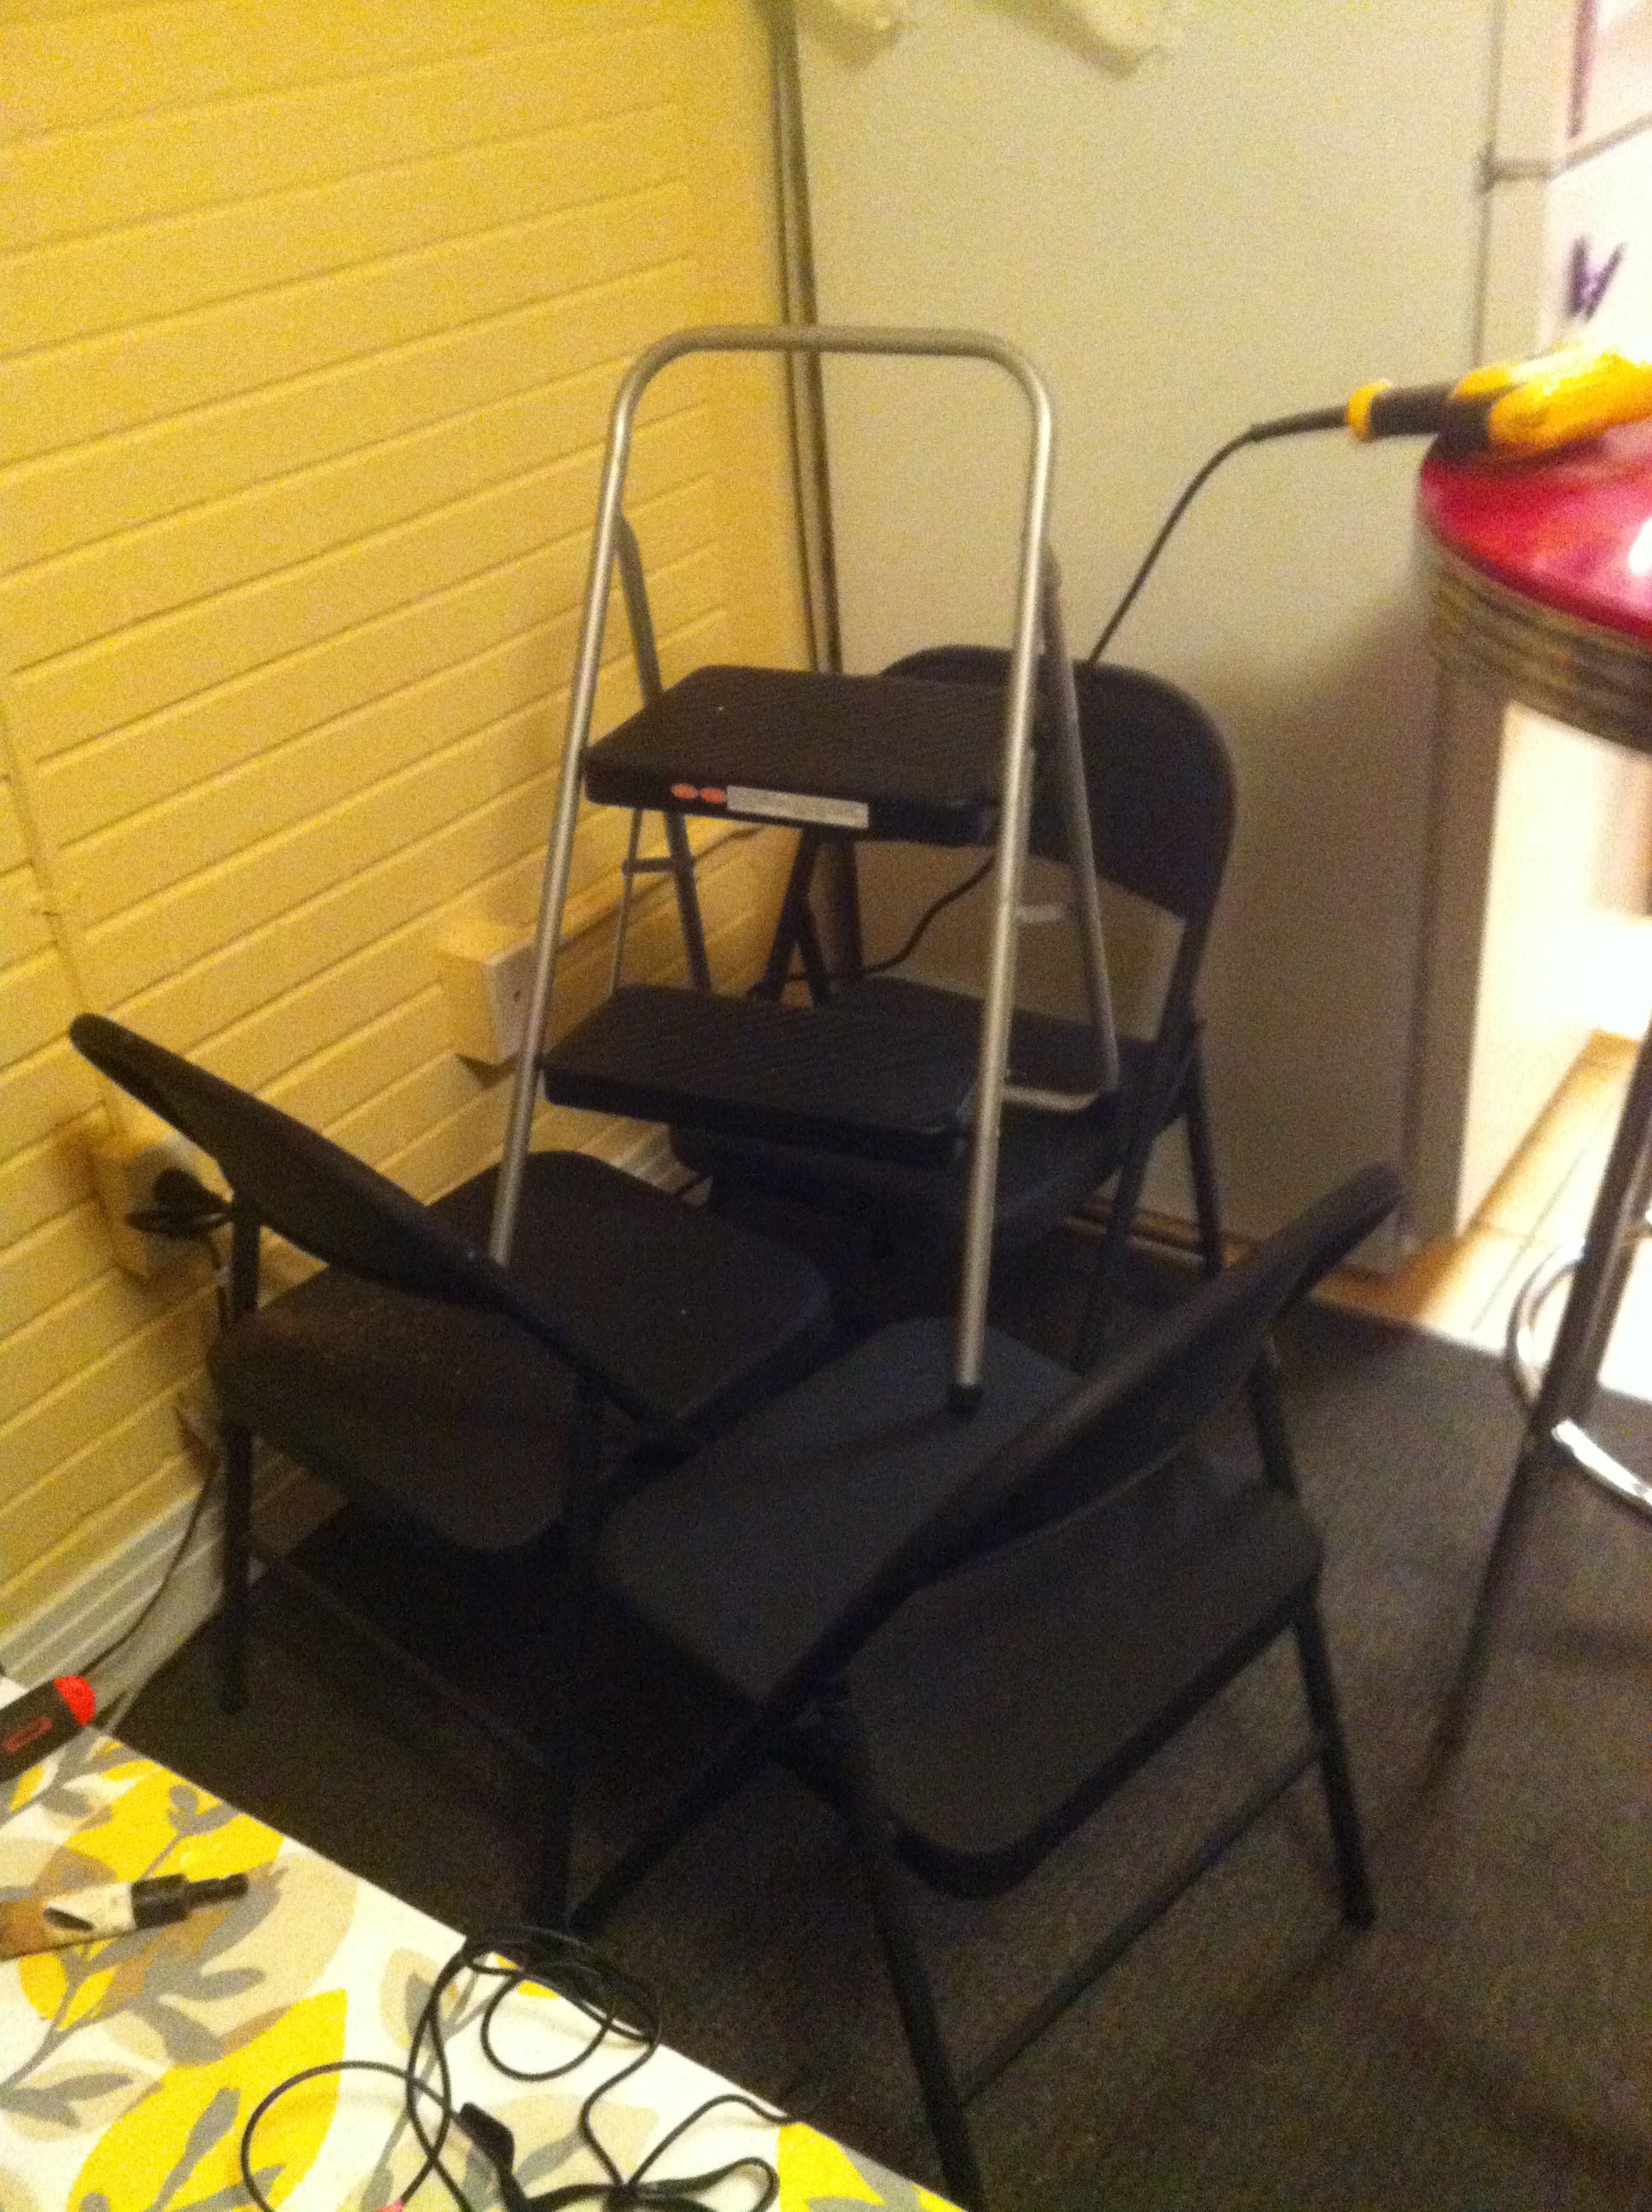
For one thing, to get up to the ceiling, it would be nice to have a ladder. Which I totally DID until I cut it up to make a charming bookshelf. So, an ill-advised contraption was created.
A warning that comes a bit late in this column: I'd like to use this opportunity to let everyone know that neither LitReactor nor myself endorse ANY of the practices in this column. Seriously, if you do this, get up on a step ladder balanced on folding chairs with a drill in your hand, you're even dumber than I am. At least I was doing this as a professional act.
I drilled a couple "experiment" holes, as I like to call them, in search of a ceiling stud so I could place a ceiling hook. No luck. No studs.
Even if I found the right spot, I wasn't sure how well one large eye hook would hold. This shelf would be pretty heavy, and unlike the others it had only one bit holding it all up.
 I had quite a few failures, including quite a number of "experiments" before my partner suggested we screw a handle into the ceiling. Which was absolutely brilliant.
A few drywall toggle anchors later, it held. It balanced. And 20 books later, we had our final shelf, embellished with an old-school film camera to complete the hip look.
Summary:
Purchased Materials: One board, some rope, handle, carabineer, dinner for helpful partner: $75.
Time To Build And Install: 120 min.
Most Commonly Used Curse Phrase: "Ohhhhh, fuck, ohhhh shit." Said while on homemade ladder.
No. Of Books Held: 22
Advice: Get a stud finder if you want to hang something from the ceiling. Also, "stud finder" almost certainly must be a dating site by now. Oh, and Google "drywall toggle anchor" if you don't know what I'm talking about. Lots of apartment leases forbid them, but there are a few different varieties of drywall anchors that might work for different applications and might not get your landlord in a tizzy. And finally, I'd suggest using two ropes, four holes in each board, for balance.
Final Thoughts:
Overall, the spending was high to hold a low number of books. $165 to hold 91 books, to be exact(ish). So when you talk money, these homemade bookshelves aren't the way to go. Plus, if time is money, which business guys always say it is when they're pissed off about waiting for a coffee somewhere, you're way, way in the hole.
 That said, I think people really take pride in their home libraries, and this is a way to take even more pride in them. To interact with and appreciate your books in a new way. There's a craftsmanship here that you'll never get from slapping together particle board.
Oh, and something else interesting, that "craftsMANship" word. While I have my issues with Pinterest and the DIY movement, I do really like the element of mash-up between traditional male/female roles. If we're talking traditional stereotypes, a man would build something like an unfinished wood bookshelf while a woman would create some sort of painted wall embellishment. These worlds are less separated as the difference between form and function becomes less important than the need for both. These are real building skills, real tools at use, and all in the service of creating something that people will call "cute." You can build something that both Ward and June Cleaver would enjoy.
The ultimate answer: Yes, you can build these at home. It's not as easy as you think, and not as easy as Pinterest would have you believe, but you CAN do it. Be prepared to hit a seedy thrift store or two, be prepped for a 3 AM shelf collapse, and try not to be alarmed when an old man at the hardware store makes a crack about your impending suicide. As long as you're prepared for all that, emotionally and physically prepared, you can do it.
One last piece of advice: Pete's Method For Patching Experiment Holes:
Step 1:

Step 2:

Step 3:


About the author
Peter Derk lives, writes, and works in Colorado. Buy him a drink and he'll talk books all day. Buy him two and he'll be happy to tell you about the horrors of being responsible for a public restroom.